Quoting Service Cost
This topic describes how to quickly create a quote to estimate the cost of deploying Megaport services, before actually ordering the services.
Entering details of the services into the Quoting Tool helps you and your customers plan the overall cost of Megaport services within a specified time period. This provides a clear idea of the design, services needed, and cost breakdown by customer for planning.
Partners can use the Quoting Tool to:
- Create solution quotes outside of the Partner Portal for themselves or managed users.
- View the provided discount value.
- Save a quote.
- View all saved quotes.
- Edit saved quotes.
- Download saved quotes.
- Record that a quote has been registered with a quote ID.
- Track quote status: New, Saved, or Registered.
Creating a quote
Use your Partner Portal credentials to log in to the Quoting Tool.
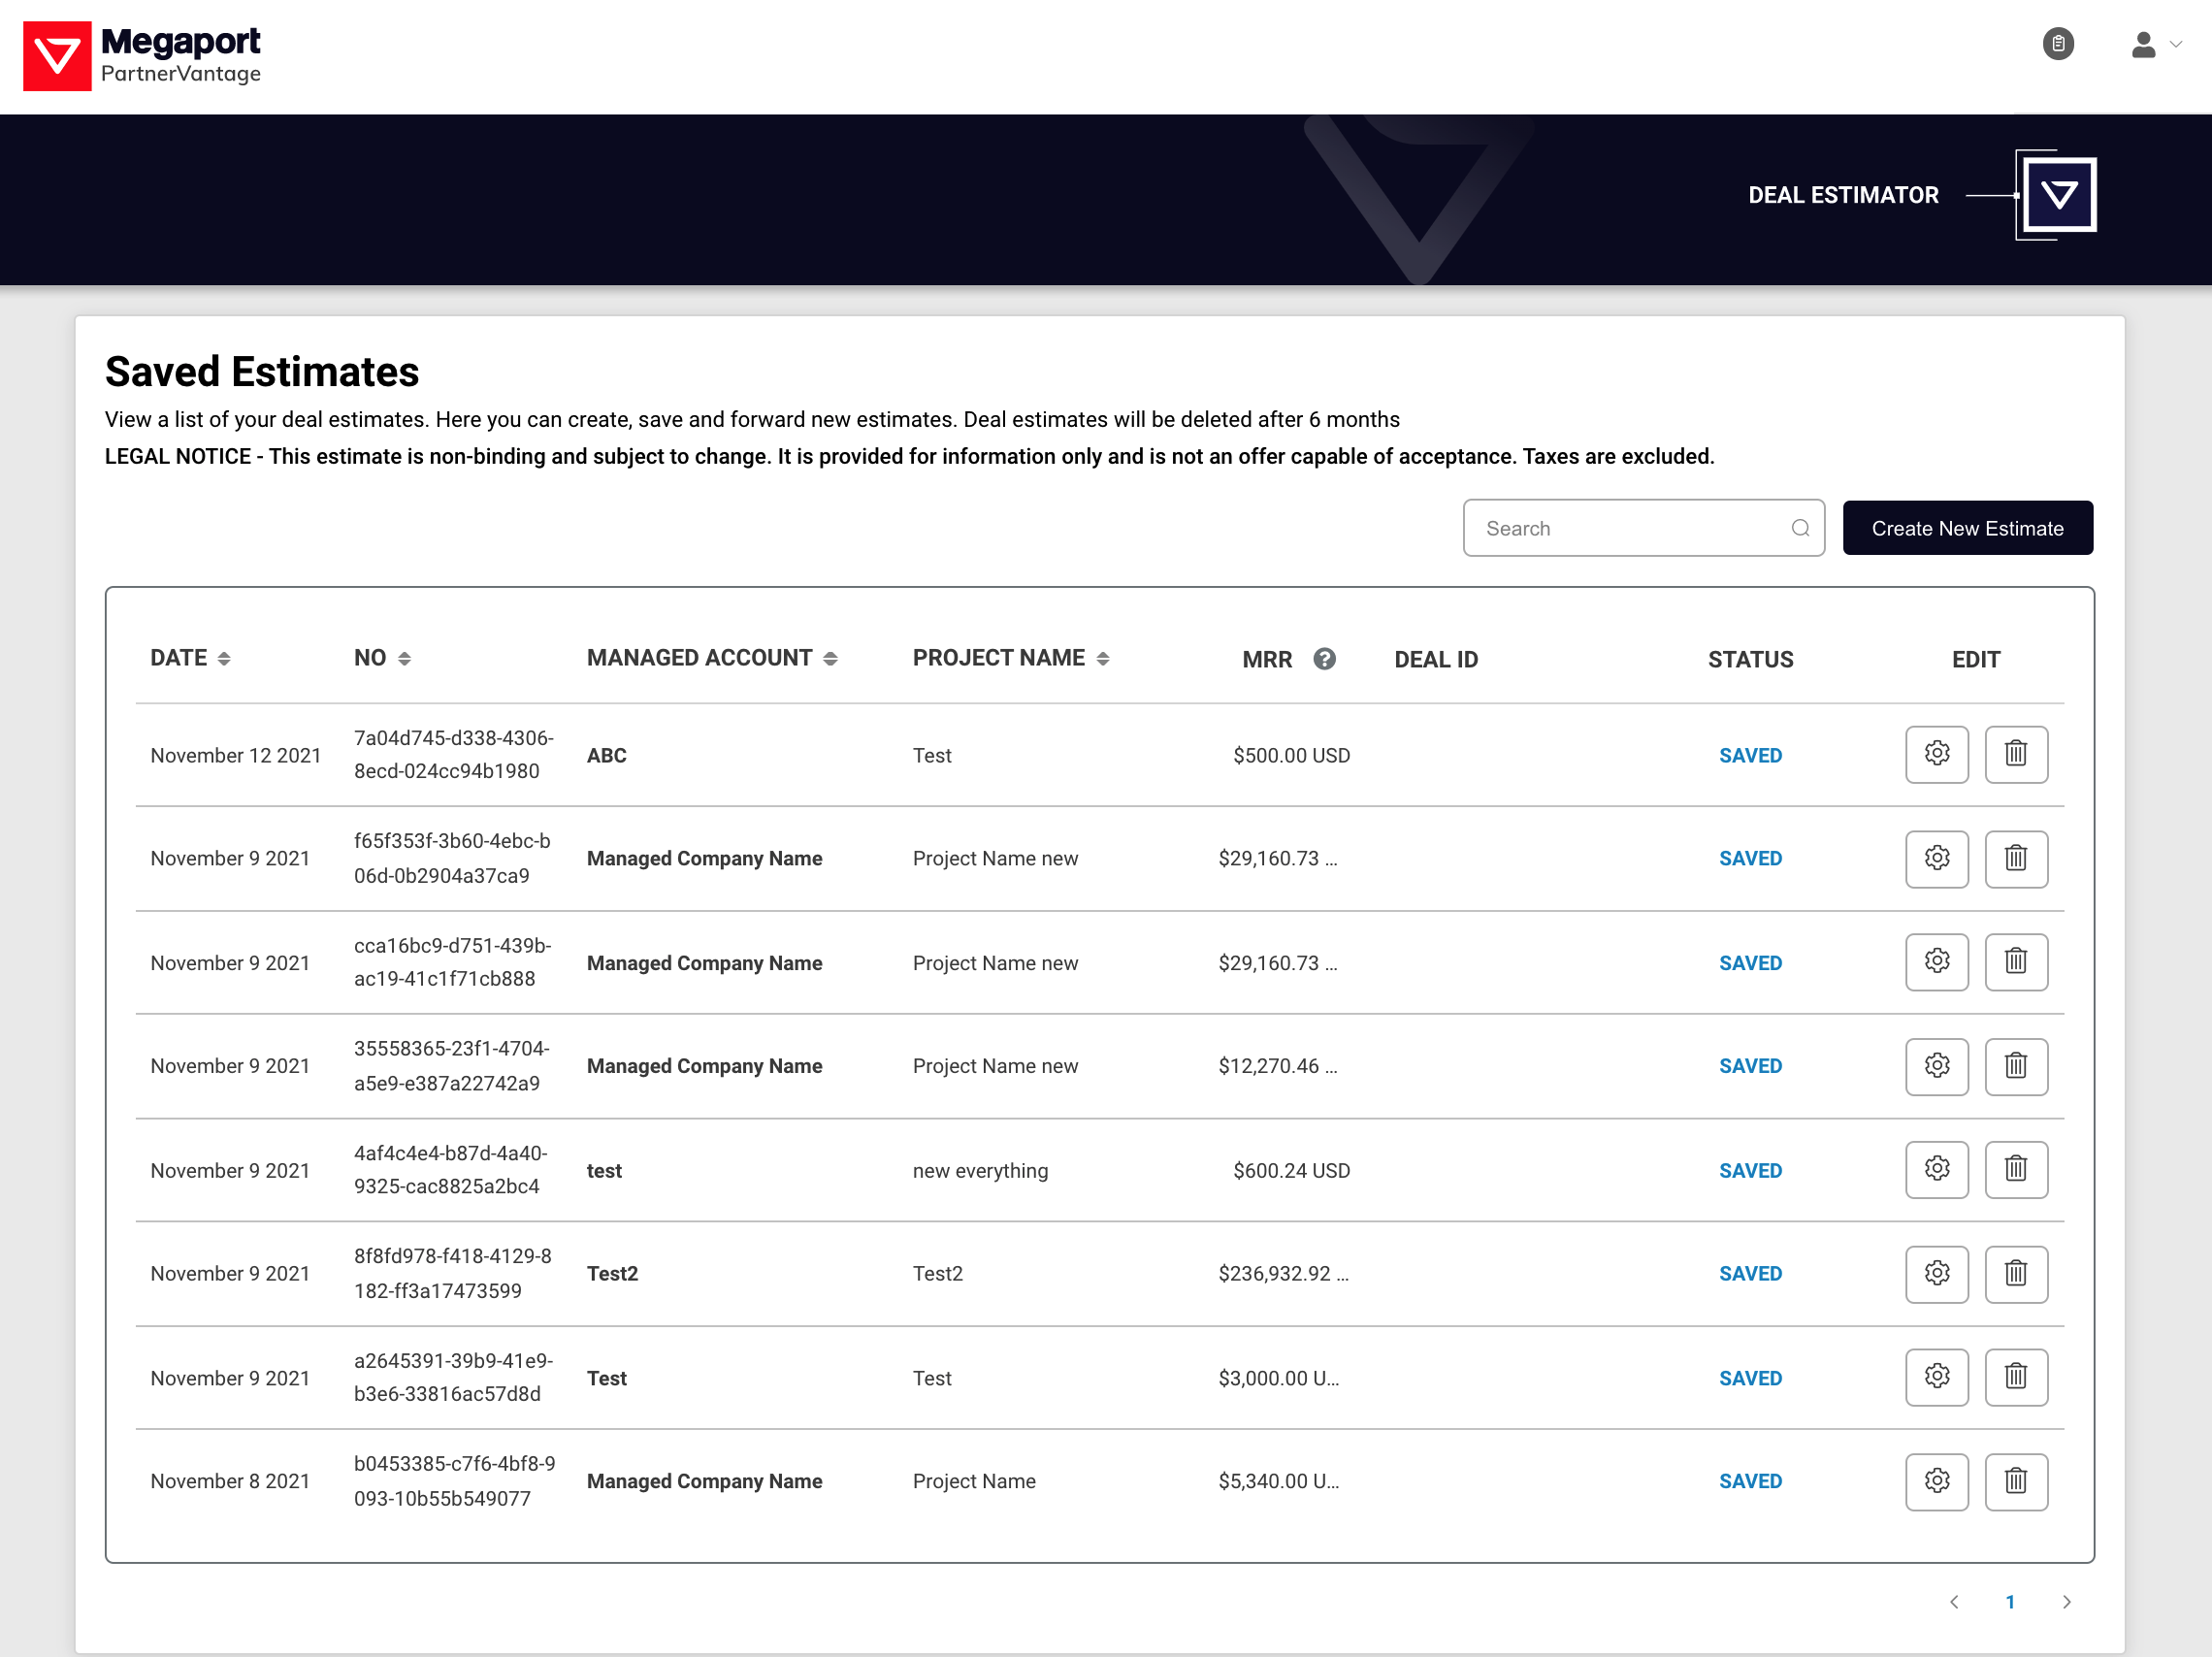
Your partner login takes you to the Quoting Tool Saved Quotes page. Use the Saved Quotes page to view a list of your quotes and create, duplicate, save, and send quotes for registration.
The Saved Quotes page displays all saved quotes for a partner. The list includes quotes that have been sent for registration when the created date is less than six months old. Quotes are deleted after six months.
By default, the page is sorted by the date the quote was created, in descending order. The most recent quote is listed first.
To create a quote
-
On the Saved Quotes page, click Create New Quote.
The Create New Quote prompt appears. -
Select whether you are creating a quote for your own partner account, an existing managed account, or a new managed account.
- Partner Account – Enter a quote name. The minimum quote name length is from 1 to 50 alphanumeric characters. Special characters are allowed.
- Existing Managed Account – Enter a quote name and select the managed account.
- New Managed Account – Enter a quote name and the new managed account company name. The minimum managed company name length is from 1 to 50 alphanumeric characters. Special characters are not allowed.
-
Click Create New Quote.
The Quote Builder page appears. This page shows the company and quote details. The Quote Details area shows the quote name, quote ID, partner name, user who created the quote, created date, and quote status. The Created By field automatically populates with the email address of the logged-in user. -
Select a service to add to the quote: Port, MCR, MVE, NAT Gateway or IP Address.
-
Click Choose Location and select the service location.
-
Enter the required fields, such as name, rate limit, currency, term, Cross Connect, and subnet size if available. Requirements vary by service.
-
If you want to exclude the cost of this service from the quote, select Exclude (service type) from quote.
You might do this, for example, if you need the service configured to replicate a network design without including the cost in the quote. -
Add the service.
-
Click +Connection to add a connection to the service. For connections, choose a destination type. The procedure varies slightly depending on the destination type.
- Cloud – Select a provider and destination.
- Private – Select a destination.
- Marketplace – Select a Marketplace provider and destination.
- Internet Exchange – Select a location.
- Megaport Internet – Select a location.
- Megaport Object Storage – Select a storage destination.
-
Enter the connection name, minimum term, and rate limit, where applicable. Exclude the service cost from the quote if required.
-
Select the Roll Up Discounts and Including Partner Discounts check boxes to view the provided discount values.
-
Click Save Connection to add the connection.
-
Click Save on the right.
The Quote ID field is automatically populated with a system-generated UID and the quote status is set to Saved. -
Click Close to view the Saved Quotes page.
Editing a quote
It’s easy to change or duplicate a saved quote. For example, you can add a new service, add a Virtual Cross Connect (VXC) to a previously created service, or create a quote based on an existing quote.
Note
Quotes that have been registered cannot be edited. They can be viewed and duplicated to create a new quote, which can then be edited.
To edit a quote
- On the Saved Quotes page, click Edit next to the quote.
-
Make the required changes.
The changes to the quote are reflected in the pricing. -
Click Save.
-
To return to the Saved Quotes page, click Close.
To create a quote based on an existing quote
- On the Saved Quotes page, click the down arrow next to the quote.
- Choose Duplicate.
A prompt is displayed conforming the quote was successfully duplicated. The new quote is added to the Saved Quotes page, with (Duplicate) added to the quote name. - Click Edit to make changes to the new quote.
- Enter a unique descriptive name in the Quote Name field to identify the quote.
-
Make any changes unique to this quote. For example, add a new service or connection, or change an existing service or connection.
Duplicating a quote doesn’t copy the Submitted Date, or the Created By and Created Date values. These fields are unique for each quote. The Created By and Created Date fields automatically populate with the current logged-in user and date. -
Click Save.
Sorting quotes
You can sort the Saved Quotes list by date, quote ID, account name, quote name, and user who created the quote.
To sort by column heading
-
Click the up/down triangles next to a column heading.
The table columns reload, if necessary. -
Click the heading again to reverse the order.
The triangle color reflects the current bidirectional sort order.
To delete a quote
- On the Saved Quotes page, click the down arrow next to the quote.
- Choose Delete.
- Click Yes to confirm.
Note
You can only delete quotes with a Saved status. You cannot delete quotes that have been sent for registration.
Downloading a quote
You can download a quote in two formats: PDF and CSV. The PDF version is ideal to send to customers for visibility, as it includes the quote details on a Megaport letterhead and a legal disclaimer that the quote is non-binding.
To download a quote
- On the Saved Quotes page, click Edit next to the quote.
- Click Download.
-
Choose Download CSV or Download PDF.
- Download CSV – Downloads the quote in the comma-separated values (CSV) format. You can use the CSV file to import the data into spreadsheets and databases. You can open the CSV file in any text editor.
- Download PDF – Shows a preview of the formatted data. Click Print PDF to open the Print dialog box. You can then either save to PDF or print. When you are finished, click the browser back button to return to the previous page.